

100% Quality Guarantee | Fast Shipping and Free Design Service
Need to talk to one of our experts? Call us now.
Free Instant Quote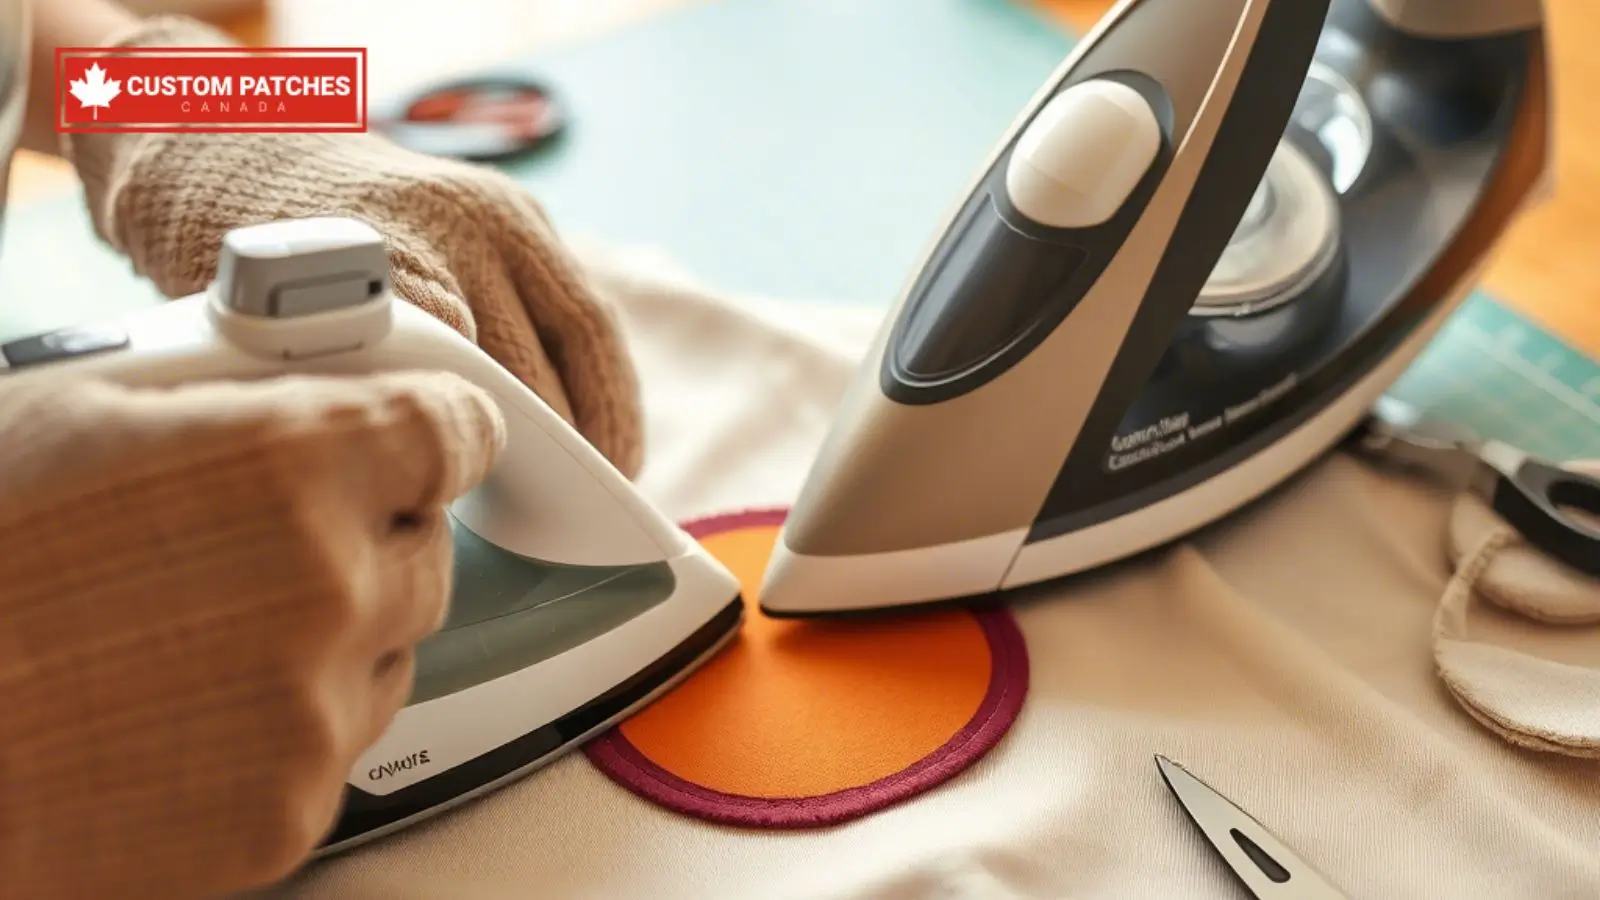
Iron on Patch Instructions – Tips to Apply Patches
Iron-on patches are the best and most interesting ways to personalize your clothes, bags, and other clothing items. Whether you are adding a personal touch to your jacket, repairing a tear, or displaying a logo, there are several ways to use patches. However, to ensure that your patch looks perfect, it's crucial to follow the proper iron-on patch instructions. In this blog, we will discuss deeply about the instructions for ironing on a patch.
What is an Iron-On Patch?
Before going deeply into the instructions, let’s understand what an iron-on patch is. It is a part of fabric that holds a heat-activated adhesive on the back. When you apply heat using an iron, the adhesive dissolves and attaches the patch to the surface of the cloth. Iron-on patches are great for denim jackets, backpacks, as well as canvas shoes.
The Proper Instructions for Ironing on a Patch
The following are the proper instructions on how to iron on patches:
Step 1: Gather Your Materials
Before starting the process, you need to ensure that you have the required tools. You will need:
- The Patch you want to apply
- The fabric items such as a shirt or a bag
- A household iron
- An ironing board or flat, heat resistant surface
- A thin cloth or piece of parchment paper
- Optional: A towel to place underneath your garment
Step 2 Pre-Wash and Dry the Fabric
One of the most ignored steps in iron-on-patch instructions is preparing the fabric. You must ensure that you wash and dry the cloth beforehand to remove any chemicals that might interfere with the patch later. Don’t use patch fabric softener since it may affect the patch bonding agent.
Step 3 Position the Patch
Place your garment flat on your ironing board. Make the surface of the cloth smooth so that the patch has a clean surface to stick to. Now, place your patch exactly where you want it. Make ensure that the sticking position is facing down, in contact with the fabric. The design must be facing upward.
Step 4 Heat the Iron
Set your iron to high heat functioning without the use of steam. Turn off the steam option completely if your iron has it since steam can stop adhesive from melting properly. Give your iron 2 to 3 minutes to fully heat up.
Step 5 Cover the Patch
You can place a thin piece of parchment paper, baking sheet, or cloth over the patch to protect both your patch and iron. This stops the direct heat from burning the design.
Step 6 Iron the Patch
This is the most important step of iron-on patch instructions. Gently press the iron on the patch for 30 to 45 seconds. Add pressure and don’t let the iron move back and forth. The main purpose is to melt the adhesive so that it bonds fully with the fabric.
For thick patches, you have to iron for a little longer nearly 60 seconds.
Step 7 Flip and Iron the Back
For additional security, flip the cloth inside out and iron the back of the patch for another 20 to 30 seconds. This makes the adhesive pierce more deeply into the fabric fibers.
Step 8 Let it Cool
After ironing, let the fabric cool completely before wearing it. The cooling time will make the adhesive hard and create a strong bond. Don’t touch and pull the patch while it is warm.
Step 9 Test the Seal
After it is cooled, lightly tug at the patch’s edges to make sure it’s completely attached.
Step 10 Care Instructions
To make your patch long-lasting, follow the tips below:
- Turn the cloth inside out before washing.
- Use cold water and avoid using bleach
- Don’t tumble-drying
- Don’t iron directly on the patch once applied
For more information, you can read: Importance of embroidery patches for businesses.
Conclusion
Ironing on a patch is an easy DIY project when you follow the proper steps. By using the right materials, preparations, and techniques, you can customize your clothing accessories. These iron-on patch instructions are simple for beginners and highly effective for long-lasting results. If you're looking to apply patch without iron, there are alternative methods available too. For high-quality options, choose Custom Patches Canada today.
Recent Posts
- Explore All PVC Patch Types to Choose the Best One
- How to Make Beaded Keychains That Truly Turn Heads
- A Complete Guide to Military Patches - Types, Meanings, and Purpose
- Iron on Patch Instructions – Tips to Apply Patches
- The Difference Between Embroidered and Woven Patches
- Why Choose Velcro Patches Over Traditional Styles?